This post is part of a series on an ongoing project. Today, I’ll dive into how I migrated the existing Java Swing app source code into my new project. The first step is pretty straightforward.
Copy Source
The first step is to actually copy the source files from the old project and move them into the new project. From my early inspection of the old code, there are dependencies on Java Swing. So I’ll need to change the legacy code to remove these dependencies. That is why I’m going to copy the source files – instead of, for example, trying to compile against the existing code base. Fortunately, IntelliJ makes this easy.
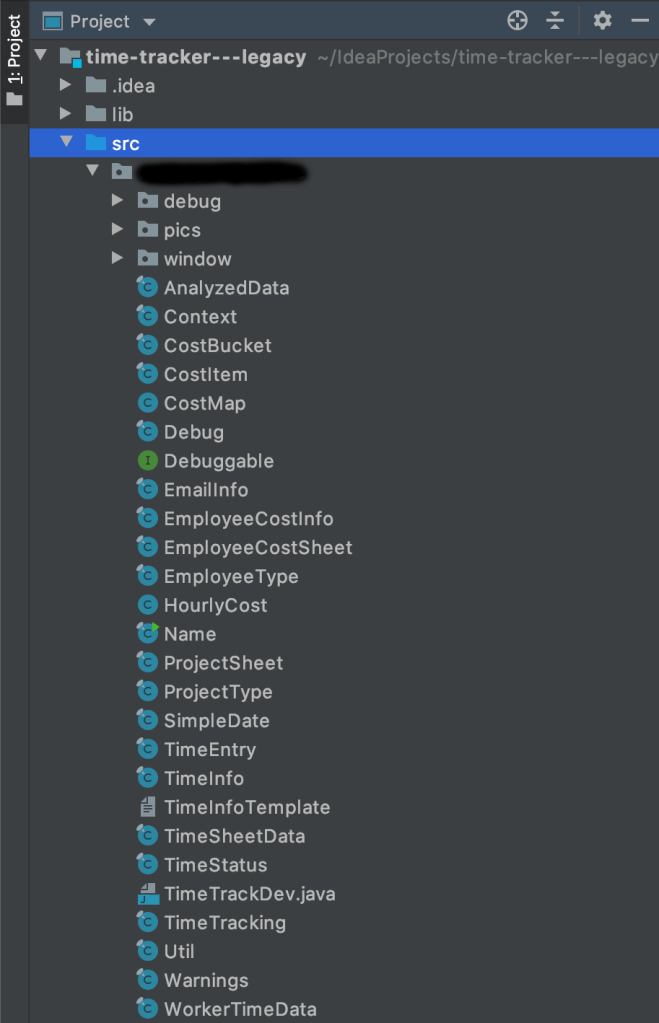
I’ve created a project by cloning the existing Java Swing app code into a new IntelliJ project. The code that expresses the business logic is all in the project’s root package. The GUI code is in a sub-package called ‘window’. There is a sub-package, ‘debug’, that looks like it is for stepping through the code, which I will not carry forward. And the last sub-package is ‘pics’ which contains some graphical resources for the Java Swing app. So I’m going to start by copying all the Java files from the project’s root package – as shown below.
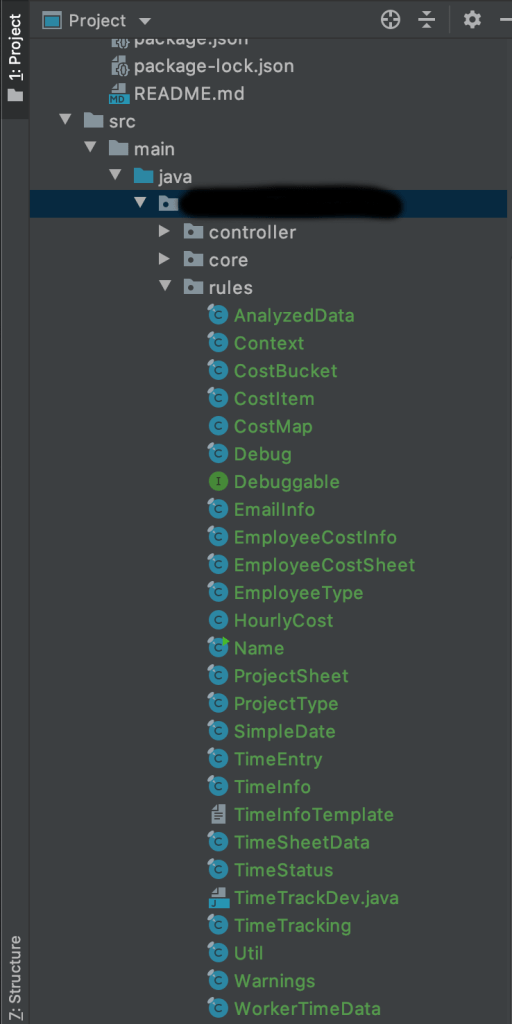
Then I paste those files into my new project, under the ‘rules’ package. IntelliJ prompts me to add them all to GIT – which I do, and it also refactors the files to correctly identify the new package. After adding them, my new project looks like so.
A quick project compile reveals a host of compile errors. The existing project has a dependency on the Apache POI project to read Microsoft Excel files. Until I add that as a project dependency, I’ll keep receiving these compile errors.
Resolve Project Dependencies
So let’s hop over to the pom.xml file and add the dependency. I’ll first add a new Maven dependency for the POI library – leaving the specific version number undefined for now.
		<dependency>
			<groupId>org.apache.poi</groupId>
			<artifactId>poi-ooxml</artifactId>
			<version>${poi.version}</version>
		</dependency>
Next, I’ll add the ‘poi.version’ property to specify the library version. At first go, I simply set this to the latest version of the library availble at the time. However, that lead to a bunch of library specific compile errors. Apparently, the Apache POI project had gone through some fairly large changes which broke backwards compatibility and the old Java Swing app had never been updated to work with a later version.
I dug into the legacy app’s build process a bit more and figured out what version of the POI library it was using to build. Turns out it was version 3.9. So I’ll update the ‘poi.version’ property to 3.9 in my pom.xml.
	<properties>
		<java.version>1.8</java.version>
		<kotlin.version>1.3.61</kotlin.version>
		<jackson.version>2.10.1</jackson.version>
		<poi.version>3.9</poi.version>
		<frontend-maven-plugin.version>1.9.0</frontend-maven-plugin.version>
		<npm.version>6.13.4</npm.version>
		<node.version>v12.14.1</node.version>
		<maven-antrun-plugin.version>1.8</maven-antrun-plugin.version>
	</properties>
By the way, this is one of the great features of Maven. Not only does it allow you to explicitly identify the versions of libraries your build process depend on, but it also captures this information in an obvious, easy to read method that is maintained in your source control repo. Cool stuff!
In any event, there’s a few import statements and package statements that I had to resolve manually, but that’s pretty run of the mill kind of stuff. So I’m going to skip that step and just say that I now have a project that builds without any compile errors!
Wrap Up
Next up, I’ll start actually using the legacy code to perform the data analysis, instead of the simple stub I had setup in the previous post.
